We want to help you to have fun with your heat-seal machine for as long as possible and to heat-seal labels and transfers correctly.
Therefore, proceed as follows:
The preparation
- Check the heating plate for contamination and damage (and replace if necessary). Remove impurities on the Teflon with cleaning paste.
- Check the silicone pad for damage and consistency. If the pad is too soft, it must be replaced
- Switch on heat-seal machine
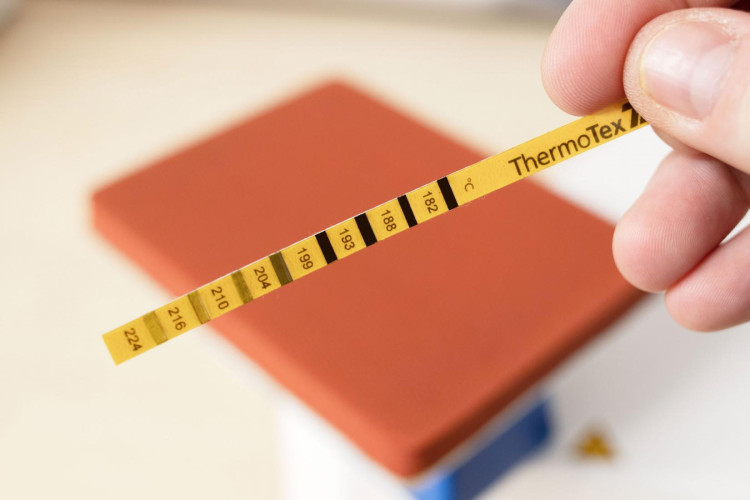
- Check the temperature with the temperature measuring strips
Here you will find our accessories for heat-seal machines:
accessories
Aids
Label Position
- Find a flat area without seam on the textile
- Choose a position that is comfortable for the wearer
TEXTILE KNOWLEDGE
- First test the textile for temperature sensitivity
- Materials that cannot be heat-sealed: pure new wool, polychlorinated fibre, chlorinated fibres and materials containing PVC
- Coarse meshed fabrics, e.g. knitwear: look for a dense area on the fabric, where the label can attach to the fabric best
- Stretchy fabrics, e.g. underwear or socks:
- Use an elastic label (CT2009)
- Heat-seal lengthwise
- Do not stretch over the lower plate
Good to know:
Every textile presents its own challenges. The heatsealing process must be adjusted perfectly to achieve a lasting label on the chosen textile, despite the challenges. The following parameters must be set correctly for this:
- Pressure
- Temperature
- Time
You can find the detailed explanation in our blog post: "Why do my labels not stay attached to my textile?".
TO THE BLOG POST
You can download these tips here:
Download
If you need help, please do not hesitate to contact your personal contact partner:
Contact Partner

 Close
Close